Installation
Installation & Setup Instructions
Installation Instructions
Tools Needed – 1 – Spade Shovel
2 – 40 Lb Bags of Pea Gravel
- Determine where you would like your Crocbox located. Bury in a level area with nothing behind the box for 3 feet.
- Place Crocbox in desired location and trace the bottom of the box on the ground. i.e. powder or landscaping spray paint
- Dig the hole for your Crocbox. Keep the sides of the hole as vertical as possible and the bottom as flat as possible. The hole needs to be 12-13 inches deep.
- Fill bottom of the hole with 3-4 inches of gravel and keep it as level as possible.
- Place Crocbox in hole and fill in any voids on the sides with extra dirt and compact to ensure snug fit.
- Pay special attention that the Crocbox lid is flush with ground. If installed correctly, the Crocbox will virtually disappear and you can mow rig
Download Installation Instructions
Setup Instructions
Step 1
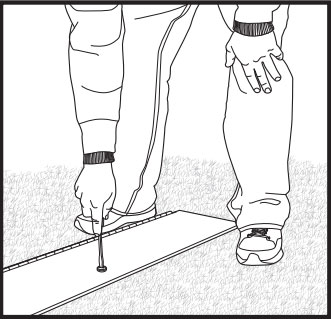
Open Latches with Flat Head Screwdriver
Step 2
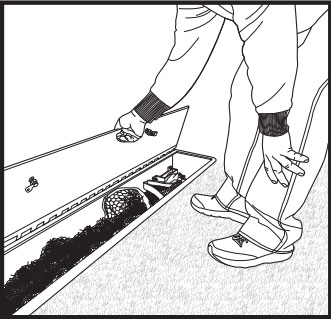
Open Box Lid to reveal Net
Step 3
While facing the Box, lift the Top Pole in the Box to the Left
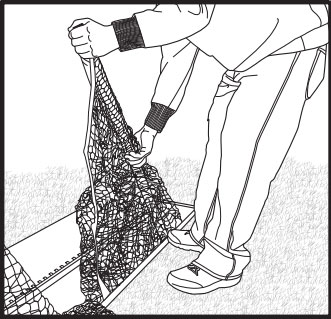
Step 4
While facing the Box, lift the Bottom Pole to the Right
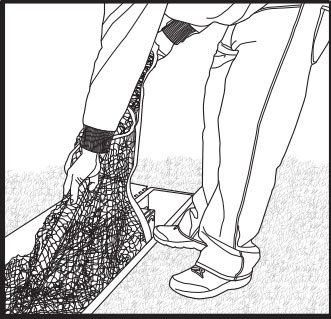
Step 5
Extend the Right Pole until the Push Pin Locks into place
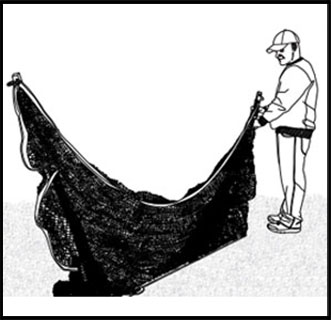
Step 6
Make sure Push Pin locks into place
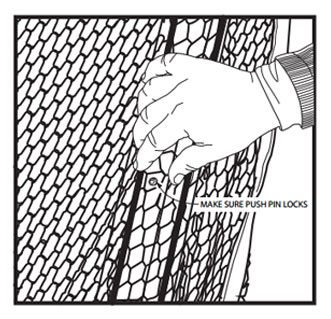
Step 7
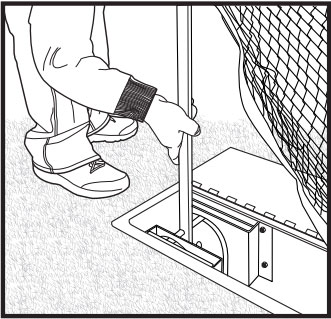
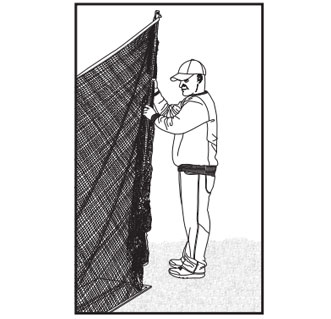
Lock the Right Pole into place by moving the Pole to the right inside the bracket until it stops
Step 8
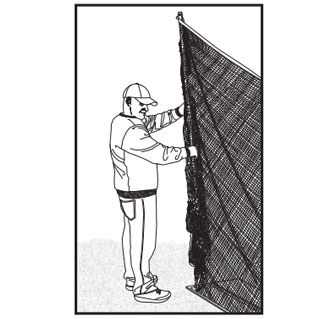
Extend the Left Pole until the Push Pin Locks into Place at the full Extended Position
Step 9
Lock Left Pole into place by moving the pole to the left inside the bracket until it stops and slides down
